Why Slow Cooking Works
Slow cooking relies on gentle heat over an extended period. This method breaks down collagen—the connective tissue found in tougher cuts—into soft, silky gelatin, giving the meat a tender texture and infusing the cooking liquid with body and richness. The result? Deeply flavoured, fall-apart dishes that are satisfying and soul-warming.
Best Beef Cuts for Slow Cooking
Beef pieces can be divided into two categories. ‘Primary’ (or ‘prime cuts’) are the most tender cuts of beef and include porterhouse, ribeye, scotch fillet, sirloin, tenderloin, t-bone and rump. These cuts aren’t good for slow cooking but are ideal for steaks or roasts where you’re aiming to cook the meat medium rare.
‘Secondary cuts’ of beef are those that contain the most connective tissue/collagen, which can make them quite tough! The muscles of the shoulder, cheek, belly, ribs and leg have the most connective tissue because of the work they do. When cooked right, secondary cuts of beef offer a lot of flavour and reward. Chuck (neck), shin (shank, osso bucco or gravy beef), brisket (ribs and short ribs), flank, knuckle, cheek, ox tail, silverside and topside are ideal for long, slow cooking. Secondary cuts like chuck and brisket have layered fat in the meat, which gives a soft and rich result after cooking. Collagen is extremely tough when raw. However, when cooked for a long time it transforms into meltingly soft gelatin, giving meat a moist and tender texture. That gelatin also seeps into the surrounding stew liquids, increasing it’s viscosity and velvety texture. If you simmer a low collagen cut (tender when raw piece like tenderloin) for three hours, it turns out horribly tough and dry.
Not all beef is created equal when it comes to slow cooking. While prime cuts like porterhouse, tenderloin, or ribeye are ideal for quick grilling or roasting, they’ll turn dry and chewy if slow cooked for hours. Instead, go for secondary cuts, which are loaded with flavour and connective tissue—perfect for slow-cooked magic.
Top Beef Cuts for Braising, Stewing or Roasting:
-
Chuck (neck): A classic choice for stews and curries, with plenty of marbling.
-
Shin/Shank (gravy beef, osso bucco): Rich in collagen, ideal for soups and braises.
-
Brisket: Great for dry roasting, smoking, or braising in Asian-style soy sauces.
-
Flank and Skirt Steak: Great diced into stews or slow-roasted whole.
-
Beef Cheeks: Silky and luxurious when cooked for several hours.
-
Oxtail: Full of gelatin—ideal for rich soups or sauces.
-
Silverside and Topside: Leaner but benefit greatly from a flavourful braising liquid.
-
Knuckle (round steak): Best diced in stews or sliced thin after slow cooking.
💡 Pro tip: Avoid slow cooking tender cuts like sirloin or eye fillet—they’ll become tough and stringy.
Other Meats & Poultry Perfect for Slow Cooking
Slow cooking isn’t just for beef. Many other proteins shine when given the low and slow treatment.
Chicken & Duck
-
Thighs, Drumsticks, Wings, Marylands: Juicier than breast meat and perfect for curries and casseroles.
Lamb & Goat
-
Shoulder, Shanks, Neck, Forequarter, Ribs: Packed with flavour and ideal for slow roasts or Middle Eastern-style braises.
Pork
-
Shoulder (butt), Belly, Ribs, Cheek, Hock/Trotters: Great for pulled pork, sticky ribs, or braised pork belly.
Other
-
Rabbit: Front or hind legs are great in wine-based braises.
-
Veal: Shanks and shoulder cuts are classic for dishes like osso bucco.
-
Fattier Minced Meats: Excellent for slow-cooked ragu or chilli.
❌ Lean game meats like kangaroo, emu, quail, or venison aren’t ideal—unless using the leg or tail cuts with more connective tissue.
Slow Cooking Methods: Wet vs. Dry
Wet slow cooking (braising and stewing) is done by adding a liquid during the cooking process to help keep the meat juicy. Cooking using a good stock, wine, milk, coconut milk, vinegar or even water is fantastic for cuts of meat with less fat and more connective tissue. Examples of these cuts include topside, silverside, brisket, knuckle/round steak, oyster blade, osso bucco and skirt steak. These can be used as whole pieces/steaks or diced into smaller amounts. Ensure to completely immerse your meat in the cooking liquid which will give a more tender result.
Dry slow cooking is essentially the equivalent to oven slow cooking or roasting. You do not add any (or very little) liquid during the cooking process. Dry slow cooking is great for cuts with a higher component of fat and will therefore contain more moisture. Simple salt and pepper mixes, dry rubs, herbs or other aromatics are perfect when using this method. Whole roasting or smoking pieces of beef like chuck, blade, brisket, spare-ribs or shin is a great technique to turn a cheap cut into something delicious. This type of cooking lends itself to presenting a whole piece of meat to the table. The meat can then be “pulled” or cut into individual slices.
1. Wet Slow Cooking (Braising & Stewing)
Involves cooking meat in liquid, ideal for leaner or collagen-rich cuts. Liquids can include:
-
Stock or broth
-
Wine or vinegar
-
Coconut milk
-
Milk
-
Tomato-based sauces
-
Even water (with aromatics)
Best cuts: Topside, silverside, brisket, osso bucco, knuckle, oyster blade.
2. Dry Slow Cooking (Roasting or Smoking)
Used for fatty cuts. You add little to no liquid. Think low-temperature oven roasting or smoking.
Best cuts: Chuck roast, brisket, short ribs, pork shoulder, lamb forequarter.
Add:
-
Salt, pepper
-
Dry rubs
-
Herbs and spices
Present your meat whole and carve, slice, or “pull” at the table.
How to Braise Like a Pro
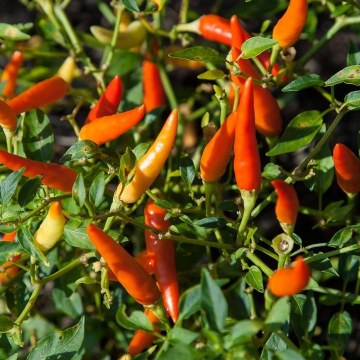
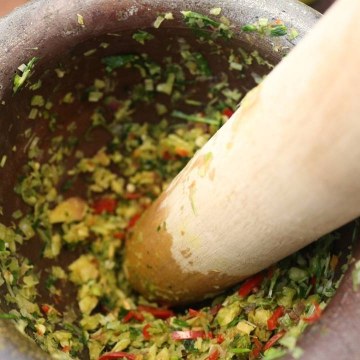
If browning the meat, pat dry with paper towels. This will help you get a nice brown crust on the meat. This is not always a necessary step in Asian cookery, as meat is often placed into the braising liquid and left to gently simmer. For browning, heat a small amount of oil in an oven-proof braising pot over high heat. When the oil is very hot, add the meat. Caramelise the meat for a minute or two on all sides. Remove the meat from the pan and set it aside. If you want to cook entirely on the stove top, an oven proof dish is not needed. Add required recipe vegetables or aromatics and cook as necessary.
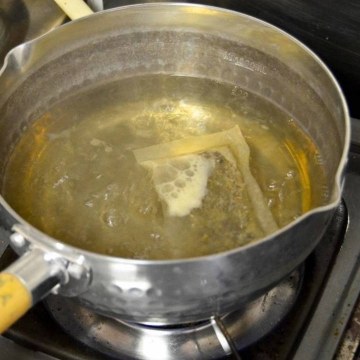
Return the meat to the pot and add your braising liquid which should cover the protein. You can now add other flavourings and seasonings. Bring the braising liquid back to a simmer, and cover with a tight-fitting lid. Transfer to a low temperature oven (between 120-160deg) or if cooking on the stovetop, turn the heat right down. Braise for 1 to 6 hours, depending on the size of the meat. Aim for about an hour per 500-700g.
Oven braising is great because the meat is cooked with indirect heat. But if you do not have an oven-safe pot, you can braise on the stovetop over a low flame. You’ll have to check it periodically to make sure the liquid is simmering and not boiling. Slow cookers are another great option for braising as they keep food cooking at an exact low temperature. To cool and store slow cooked meat, it is best to leave it in the braising liquid so that it doesn’t dry out.
-
Pat meat dry with paper towels for a better crust when browning.
-
Brown the meat in a hot pot with a small amount of oil (optional for Asian recipes).
-
Remove meat, then sauté vegetables or aromatics like onion, garlic, and herbs.
-
Add braising liquid (stock, wine, coconut milk) to cover the meat.
-
Simmer and cover.
-
Transfer to a low oven (120–160°C) or simmer gently on the stovetop.
-
Cook for 1–6 hours, depending on the meat size (roughly 1 hour per 500–700g).
-
Leave in liquid to store, helping retain moisture.
💡 Slow cookers are great for busy days—just set and forget.
Final Tips for Perfect Slow-Cooked Meals
-
Cook with the lid on to retain moisture.
-
Low temperature is key—don’t rush!
-
Always season well, and use herbs, spices, and aromatics for added depth.
-
Use the braising liquid as a base for gravy or sauce.
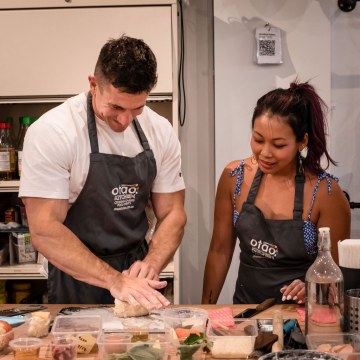
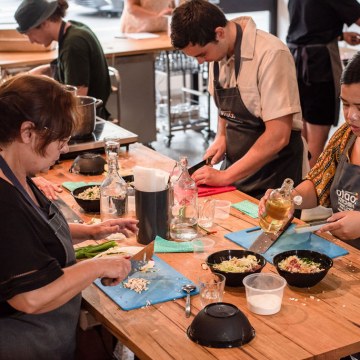
Want to Learn Slow Cooking Hands-On?
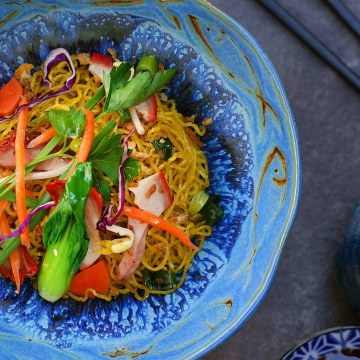
At Otao Kitchen, our Masterclasses and Cooking Courses teach the secrets behind melt-in-your-mouth braised dishes, curries, and stews. Whether you love Vietnamese pho, Indian goat curry, or slow-roasted lamb, we’ll guide you step-by-step to success in the kitchen.


.jfif)


 " style="-webkit-font-smoothing: antialiased; color: rgb(46, 145, 252);">Buy On Amazon Fr $16.99